How to Hang Outdoor String Lights on a Patio
How to hang outdoor string lights on a patio, from sketching the layout and choosing anchors to tensioning the strands and plugging in safely.
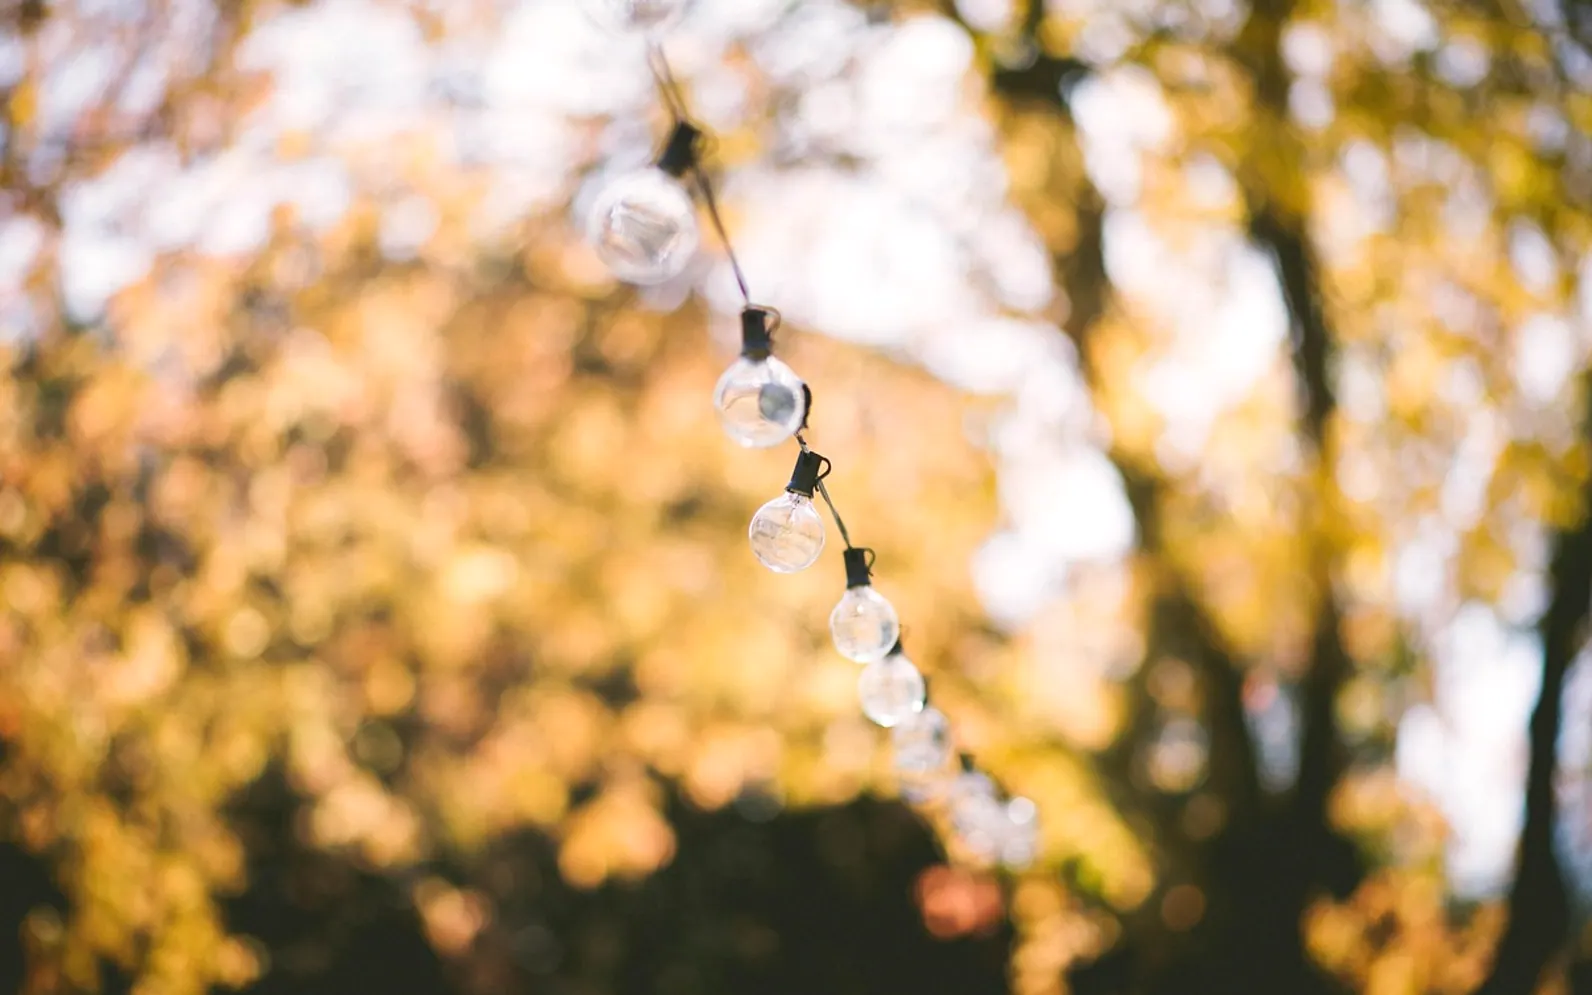
A patio with a canopy of glowing bulbs overhead feels finished in a way a single porch lamp never does, but the tidy versions rarely happen by accident. This walkthrough covers how to hang outdoor string lights so they stay level, survive a windy week and plug in without an extension cord snaking across the deck.
Start with a sketch, not a ladder
Before buying anything, stand in the middle of the space at dusk and decide what the light is for. A dining table wants light concentrated above it. A lounge corner can live with a looser drape.
Then draw the patio from above on a sheet of paper. Mark every existing structure that could carry weight: the house fascia, a pergola beam, sturdy fence posts, a mature tree with a trunk thicker than your forearm. Sketch the runs you have in mind between those points. Common layouts include:
- Zigzag: the strand crosses back and forth between two parallel lines, such as the house and a fence, which gives even coverage over a rectangle.
- Perimeter: lights follow the outer edge of the space, framing it without crossing the middle.
- Center point: several runs radiate from one tall pole or tree to the edges, a bit like a tent roof.
- Single swag: one or two long, gently sagging lines, which suit narrow balconies and side yards.
Measure each run with a tape, add a little for the sag between anchors, and total it up. That number tells you how many strands to buy, and the location of the nearest outlet tells you which end of the layout the first strand should start from.
Choose lights made for the outdoors
Read the packaging, not just the photo. You want strands labeled as rated for outdoor or wet locations, with a recognized safety certification mark. Bulbs that are shatter-resistant are worth considering over glass if the lights will hang above people or a hard surface. Commercial-grade strands with thicker cable and molded sockets tend to tolerate sun and rain better than lightweight decorative sets.
Check the maximum number of strands the manufacturer allows you to connect end to end. That limit is printed on the box or the tag near the plug, and exceeding it can overheat the cable. LED strands draw less power than incandescent ones, so you can usually link more of them, but the printed limit still applies.
Give the strands something to hang from
String lights look best when they hang from a support rather than carrying their own weight across a long gap. For any span longer than a few arm lengths, run a thin galvanized or stainless guide wire between anchors first, pull it reasonably taut with a turnbuckle, then clip the light strand to it. The wire takes the strain, and the strand just rides along.
For anchors, match the hardware to the surface:
- Wood fascia, beams and posts: screw eyes or cup hooks driven into solid timber, with a pilot hole to avoid splitting.
- Masonry or brick: anchors and hooks rated for masonry, set into the brick rather than the mortar joint where possible.
- Vinyl siding or gutters: purpose-made clips that grip without drilling; never hang tensioned wire from a gutter.
- Trees: a strap or padded loop around the trunk instead of a screw, so the bark is not damaged as the tree grows.
When there is nothing tall enough on one side, freestanding poles solve it. Many people set a sturdy wooden or metal pole into a heavy planter filled with concrete or gravel, then top it with a hook. Lean the pole slightly away from the pull of the wire so tension does not tip it inward over time.
Hanging the lights, step by step
- Lay everything out on the ground and test it. Plug the strands in during daylight and replace any dead bulbs before you are up a ladder.
- Install the anchors at a consistent height so the lowest point of each swag still clears heads comfortably.
- Run and tension the guide wire between anchors, then snug the turnbuckles until the wire no longer sags much on its own.
- Start at the power end. Clip the first strand's plug end near the outlet, then work outward so the connectors fall in the right order.
- Attach the strand with zip ties or carabiner clips every so often, leaving a gentle, even dip between attachment points.
- Step back and adjust. Look from the seating area, not the ladder. Even sag lines matter more to the eye than perfectly straight ones.
Power and safety
Plug outdoor lights into a GFCI-protected outdoor outlet with a weatherproof cover that closes even when something is plugged in. If you must use an extension cord, use one rated for outdoor use, keep the connection off the ground and away from puddles, and route it where nobody will trip on it. Do not link more strands than the manufacturer permits, and do not plug several runs into a single power strip that sits outside.
If you want a switch by the back door, a new outdoor outlet, or lights wired directly into the house, hire a licensed electrician. That work involves the home's wiring and local codes, and it is not a weekend guess. A plug-in timer or smart plug rated for outdoor use is a simpler way to get the lights on and off at set hours without touching the electrical panel.
Before storms, check that the guide wire and clips are tight, and take the strands down if very high winds are expected.
Making it feel finished
Once the overhead runs are up, the patio usually needs a little light lower down too, so faces are not lit only from above. Lanterns on the table, a few path lights, or a dimmer on the string itself all help. Our earlier piece on layering outdoor lighting for entertaining spaces goes further into mixing those sources so the space works for both a quiet evening and a full table of guests.
Done carefully, a set of string lights is one of the cheapest ways to make a patio feel like an extra room. Spend the time on the sketch and the anchors, and the hanging part goes quickly.
Fresh in every section
Got a topic idea?
A short note is enough.